By Eddie Bauer Partner – @brookewillson
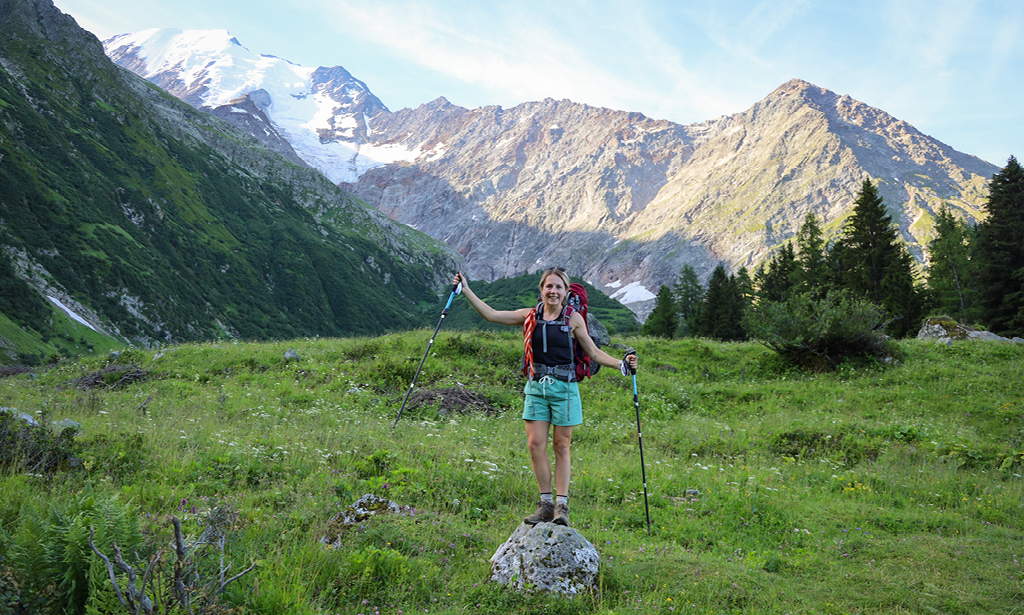
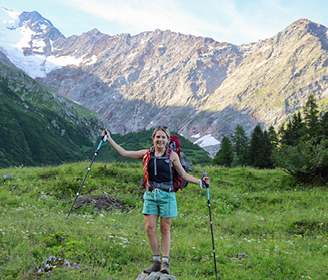
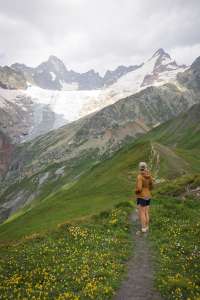
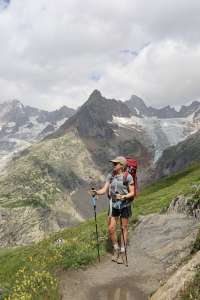
Since learning about The Tour du Mont Blanc years ago, it had been on my bucket list of destinations. This 170-kilometer circuit through France, Italy, and Switzerland allows you to hike around one of Europe’s tallest mountains, Mont Blanc—over mountain passes and down into alpine valleys. In January of 2023, I decided to make it happen, so I booked the trip with my husband, Craig.
Planning Ahead:
Planning the trip was a bit overwhelming at first because there are so many ways you can do the TMB (Tour du Mont Blanc). Here are three of them:
- Bring a tent, carry all your own camping gear, and book campsites along the way.
- Stay in refuges/hotels as you go. Book them all yourself and carry only what you need for the day on the trail.
- Sign up for a group tour and let the company plan all the logistics for you. This includes booking hotels/refuges and planning your itinerary.
We ended up choosing option number three and booked with a company called GAdventures. I’d seen their tours all around the world and had heard nothing but great things about the company. This took a lot of stress out of planning and made for an enjoyable time away. It also meant that most meals were covered on the days we spent hiking. During our days in Chamonix and Courmayeur, meals were on us, and we were able to experience different restaurants/foods in the three countries. During the trek, you hike through little towns, and it is easy enough to pick up snacks/food along the way.
The Itinerary:
Below is the day-to-day itinerary for our ten-day tour, followed by a detailed packing list (jump ahead).
July 12th:
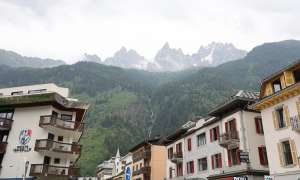
We flew into Geneva, Switzerland one day before the group trip started and took a 2.5-hour bus ride over to Chamonix, France. We had a downtown hotel, which put us within walking distance of shops, restaurants, and attractions such as cable cars. I always recommend that people arrive at least 24 to 48 hours before starting a big trek; this allows you to acclimate to the time change and lets your body recover from traveling.
We spent the rest of the day exploring the town and headed to bed early for a restful sleep.
July 13th – Day 1: Chamonix (Point Isabelle Hotel)
We checked out of our hotel and into the Point Isabelle Hotel, which GAdventures had booked for our group—and where we would start and end the trek. The hotel is conveniently located in the heart of Chamonix. Our welcome meeting was at 5:30 pm, where we met the guide, along with the other ten people on the trip. The guide went over some logistics, a day-to-day breakdown of the trip, and items to make sure we had with us. We then had the opportunity to ask any last-minute questions we had about the upcoming nine days, followed by a welcomed dinner at the hotel.
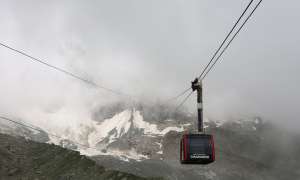
Earlier that day, we took the cable car up to Aiguille du Midi. This is the highest cable car in France.
July 14th – Day 2: Chamonix -> Les Contamines-Montjoie (Refuge Nant Borrant)
The trek begins! We woke up at 5:30 am, had breakfast at 6:30, and headed out at 7. We caught a local bus to a cable car in Les Houches, which was an 8-kilometer ride away from our hotel. From there, we took a cable car up to our starting point for the trek. You can hike the entire valley floor of Chamonix (included in the 170 kilometers around Mont Blanc); to save time, GAdventures had the group take local transit instead.
The day consisted of a bridge crossing, waterfall/creek beds, views of Bionnassay Glacier, and hiking over Col du Tricot. After hiking up to the col, we hiked down into the valley to Refuge de Miage, where we stopped and had coffee and a snack before continuing to our lunch destination. After we were done with lunch, we hiked another few hours to Nant Borrant, our refuge for the night.
July 15th – Day 3: Les Contamines-Montjoie -> Les Chapieux (Refuge Des Mottets)
Approximate hiking time is 7 hours. 1300m – 4265ft ascent, 900m – 2952ft descent
We left the refuge at 7:30 am and started our climb to the Col Du Bonhomme. Then, we continued our hike to the Croix du Bonhomme, where we then stopped for lunch and enjoyed beautiful views of Vallee des Chapieux. After lunch, we had another 200 meters of climbing with a little lake detour before we started our descent to Les Chapieux for the night. Though there were lots of ups and downs along the trail, the views made it all worth it.
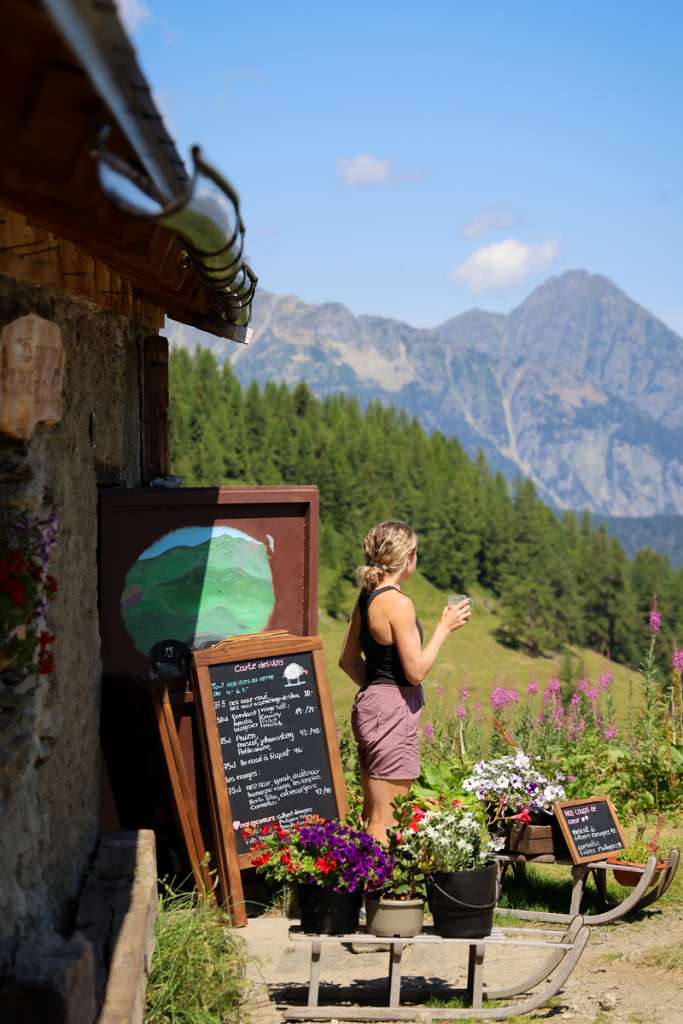
Down in the valley, we stopped at a cheese farm, where we got to watch the locals process cheese from start to finish. Our group purchased two different kinds of cheese to share at the refuge—Refuge Des Mottets—later that night. Our stay at this refuge—a sheep shed, according to our guide—was a unique experience.

July 16th – Day 4: Les Chapieux -> Courmayeur (Hotel Cristallo)
Approximate hiking time is 5 hours. 750m – 2460ft ascent, 800m – 2625ft descent
We crossed from France into Italy today!
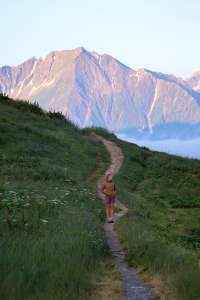
I woke up early to watch the sunrise, hiking a short way down the trail. I enjoy hiking in groups, but it’s also important for me to have some time to myself. As a morning person, I was always able to squeeze in my “me time” before other people woke up. If you’re a coffee person like me and need caffeine as soon as you wake up, I suggest packing your own jet stove or pot for boiling water/instant coffee, as coffee wasn’t served until breakfast time (6:30 – 7 am).
After breakfast, we hiked through open pastures and snowfields to Col de la Seigne. Then, we crossed the border into Italy. We passed by beautiful glacier lakes before descending into Val Veny. From there, we continued a 45-minute downhill climb to Rifugio Elisabetta, where we stopped and had lunch and coffee.
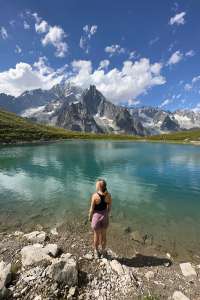
After that, we strapped on the bags again for another 45-minute descent, which brought us to La Visaille. From this small hamlet, our group took a bus to Courmayeur, where we would settle into our hotel for the next two nights. I and another member of the group opted out of this bus ride and instead chose to travel by foot into Courmayeur, which added another 3-4 hours to our day. I’m so glad we did, because this extension was one of my favorite parts of the trek. Not only did we get so close to Mont Blanc, but we ended up stumbling across a beautiful lake as well.
July 17th – Day 5: Courmayeur – REST DAY
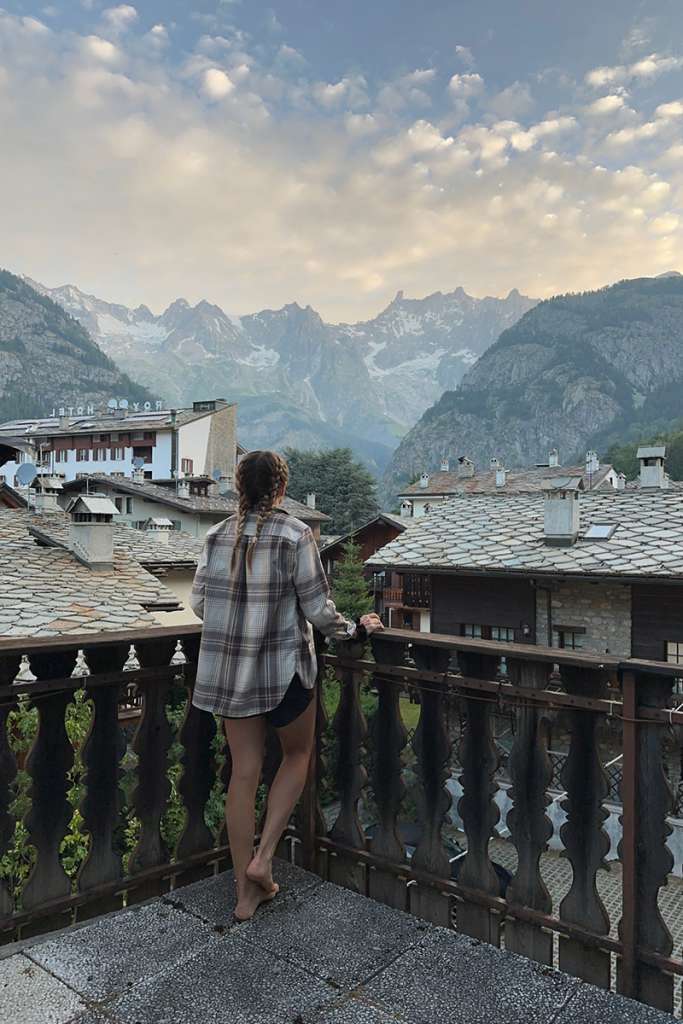
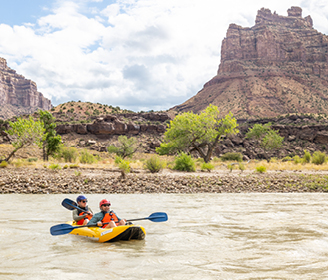
Courmayeur is a beautiful, picturesque mountain town—the perfect place for a rest day (I suggested scheduling a rest day on your tour if time allows for it.) We all had two nights at Hotel Cristallo. So, that day, some group members opted to wander around town, some went shopping, and some ate at different restaurants and cafes. Others opted for the spa, white water rafting, or taking the cable car up to a mountain. Craig and I chose a slow morning and wandered to a coffee shop that was just over two kilometers away. Then, we headed back for lunch, followed by some shopping and a visit to a couple of other restaurants, including a gelato shop. Courmayeur is known for amazing pizza, so we made sure to go for pizza that evening at du Tunnel Ristorante Pizzeria.
We also had laundry done at the hotel. They gave us bags to fill up for ten euros per bag—and the laundry was done in under 24 hours. It felt good to have fresh clothes for the remaining days on the trail.
July 18th – Day 6: Courmayeur -> Val Ferret (Rifugio Bonnati)
Approximate hiking time is 5 hours. 850m – 2789ft ascent, 700m – 2297ft descent
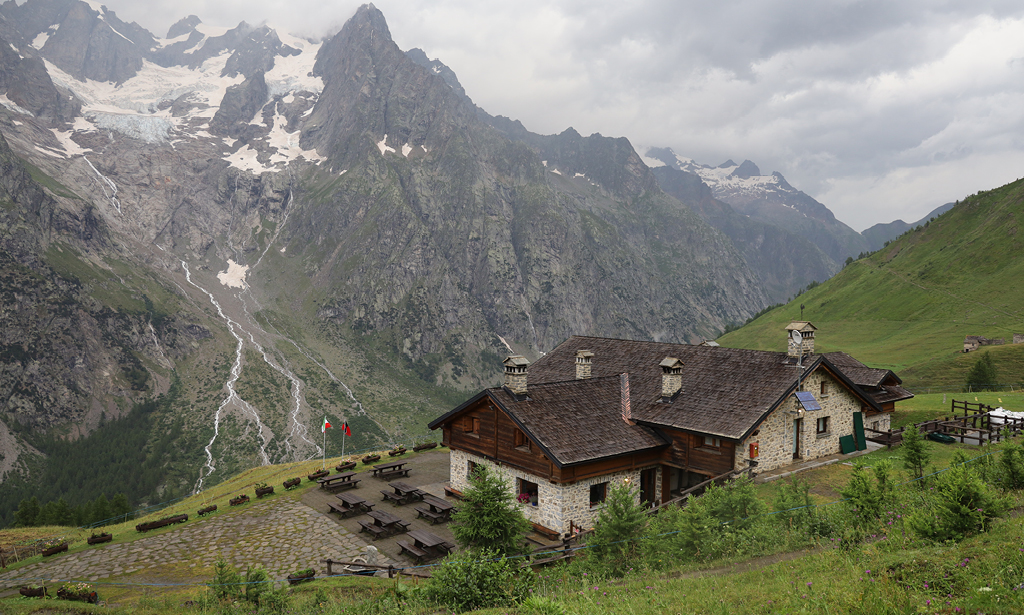
The day started with a steep climb up to Rifugio Bertone, which had an amazing view of Mont Blanc Massif (a mountain range) before we got to a “balcony path” facing the ridge of Grandes Jorasses (a specific mountain in the area). This stretch was one of my favorites.
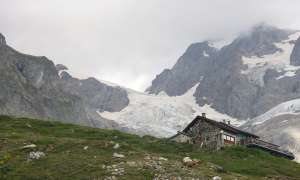
After our lunch in the meadow, we continued our hike to Rifugio Bonatti, which had the most impressive views. The hut is named after famous Italian alpinist, mountaineer, climber, and journalist, Walter Bonatti.
July 19th – Day 7: Val Ferret (Rifugio Bonnati) -> La Fouly (Auberge des Glaciers Fouly)
Approximate hiking duration is 6 hours. 900m – 2953ft ascent, 1400m – 4593ft descent
We crossed from Italy to Switzerland today!
We started heading towards Arp Nouva. Then we began our steep climb across the Grand Col Ferret (a col is a saddle/mountain pass). From there, we headed down into the hamlet of Ferret, Switzerland, before continuing our descent into the Alpage at La Peule (a refuge where we stopped for a drink/snack). The traverse above the valley was stunning, with views of greenery and trees on mountains surrounding the whole area. We continued downwards before finishing in the mountain village of La Fouly, staying at Auberge des Glacier Fouly.
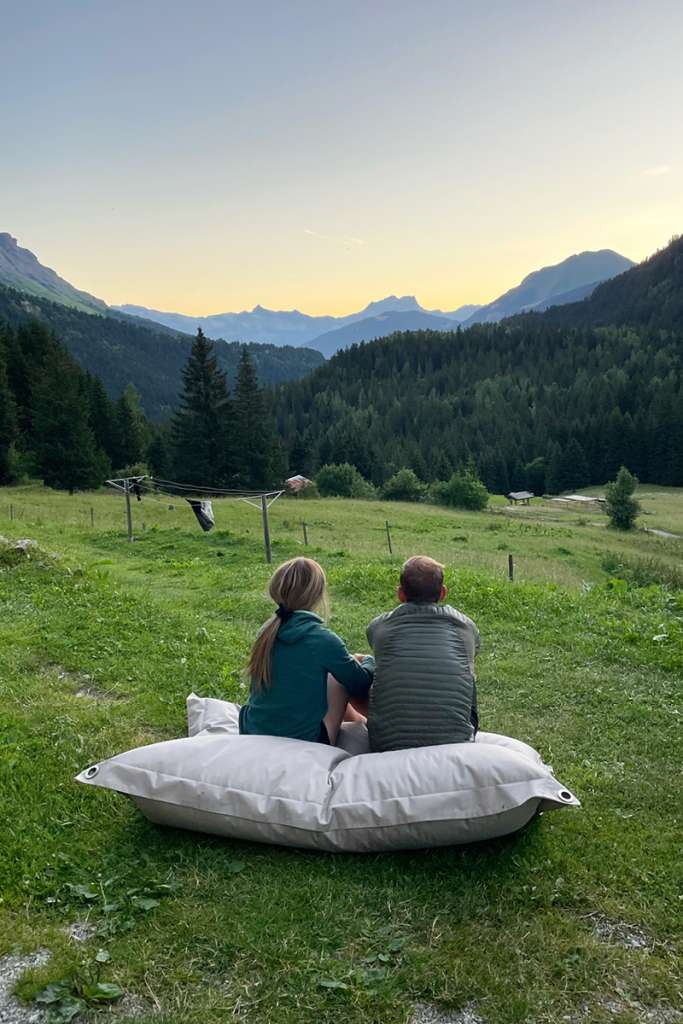
It felt so good at the end of every day to take my boots and backpack off, put my sandals on, sit back and enjoy the company of others, and take in the views at the refuges/hotels.
July 20th – Day 8: La Fouly -> Trient (La Grande Ourse)
Approximate hiking duration is 5 hours. 750m – 2460ft ascent, 950m – 3117ft descent
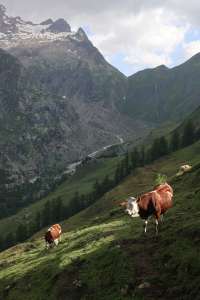
We started the day with a short bus ride to Champex before starting our 16-kilometer trek to Trient. We hiked what is called the “Bovine Way,” which is an older trail high above the valley full of cow pastures and wildflowers. The sound of the cowbells will forever be a core memory of this trek. It was a unique experience trekking through fields of cows!
We passed the Col de la Forclaz before heading downhill to Trient, one of the cutest Swiss municipalities—and a photographer’s dream. It’s home to a pink church and some of the most stunning glacier views.
July 21st – Day 9: Trient -> Chamonix
Approximate hiking duration is 5 hours. 900m – 2952ft ascent, 750m – 2460ft descent
The final day of trekking! We left Switzerland and headed back through France via the Chamonix Valley. The day started with a big uphill walk through a large forest, surrounded by alpine slopes. The forecast was calling for potential thundershowers in the morning, and it did end up thundering and raining on and off until we reached the Col de Balme, a saddle that overlooks Chamonix. From there, the group had planned to trek the last downhill stretch to Montroc in the Chamonix Valley, where we would then take a bus to our hotel.
A couple of us opted to hike all the way into Chamonix instead of catching the bus, which added an additional five hours of hiking to the day, but it was the perfect way to end such an epic adventure. We treated ourselves to gelato after a long day on the trail, of course!
July 22nd – Day 10: Chamonix
All good things must come to an end.
I began the day at 5:30 am, walking to Les Houches, which was 8 kilometers away. This is where our group began the trek on the first day, though we had initially taken a bus to it. There is an official sign (pictured below) that marks the official start of the trek. I wanted to see it for myself and take a photo to mark the occasion since we hadn’t stopped to do so on the first day of our journey.
After walking there in the morning (which took around 1.5 hours), I grabbed the local bus back at 7 am and came back to meet the group for breakfast before we all went our separate ways.
Craig and I had another night booked in Chamonix, whereas others were either heading to different countries or flying out to head home. We took a local bus to a nearby town later that morning, called Lake Annecy, and spent the day exploring a new place.
July 23rd:
From Chamonix, we then took the bus back to Geneva, where we spent the day exploring the city before flying out on the morning of July 21st to head home back to Alberta, Canada.
I am so grateful to have shared these eight days with my husband and the rest of our group. I am grateful to have completed the circuit, which was as challenging as it was beautiful and rewarding—a hiker’s dream, and a photographer’s dream, too!

I would love to come back one day with a friend and do the trek as a run or backpack it with a group, tenting along the way. It was great to get a taste of the trail while staying in refuges, though experiencing it as a runner or backpacker would also be an amazing experience.
I would love to say a huge thank you to my long-term partners over at Eddie Bauer for making this trip possible.
Feel free to follow my other adventures on my Instagram account! If you have any questions about the trek, feel free to reach out to me via direct messenger at @brookewillson.
Happy Trekking!
Packing list:
Here is a list of all the Eddie Bauer items I had with me, followed by a detailed list of other items I had in my pack. We ended up having great weather, so I didn’t have to end up using some of my warmer gear, but it’s good to have on you regardless, as anything is possible in the mountains. Just tap the item to see it on the Eddie Bauer website. Be sure to read the reviews for your sizing. I tend to have to size down a lot. Also, I know I am attaching all the women’s items specifically, but for 95% of the items, there is a men’s version online.
Footwear:
– Cairn Mid Hiking Boots – True to size
– Daylight Sandals – There’s nothing quite like taking off your boots at the end of the day and having sandals for camp. I brought a pair that I could wear with socks if I had to. I am a size 8.5 and had to get a size 9, as they only come in full sizes.
Clothing:
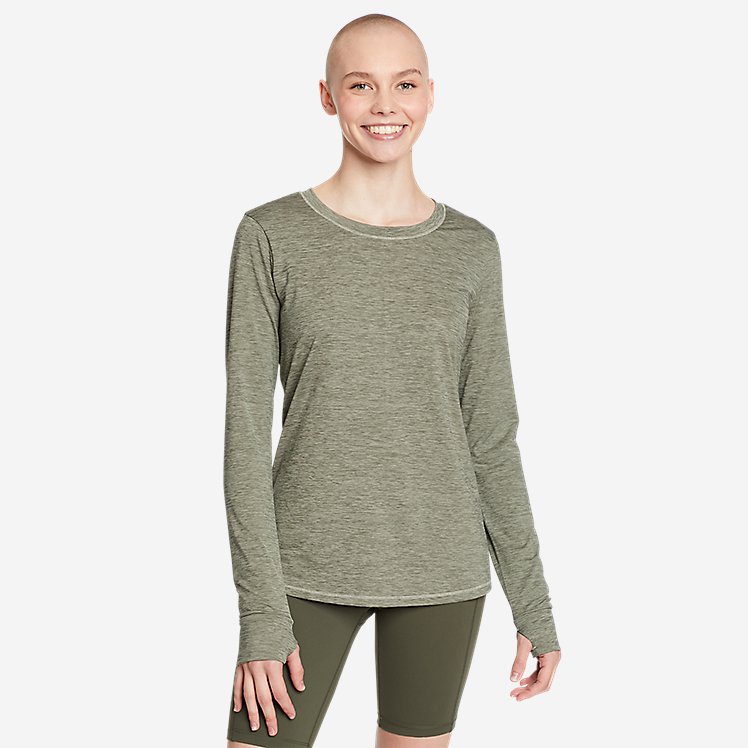
– Solarfoil Long-Sleeve Pullover
– Resolution Short-Sleeve Shirt X2
– Resolution Long-Sleeve Shirt
– Quest Pro Grid Fleece Pullover
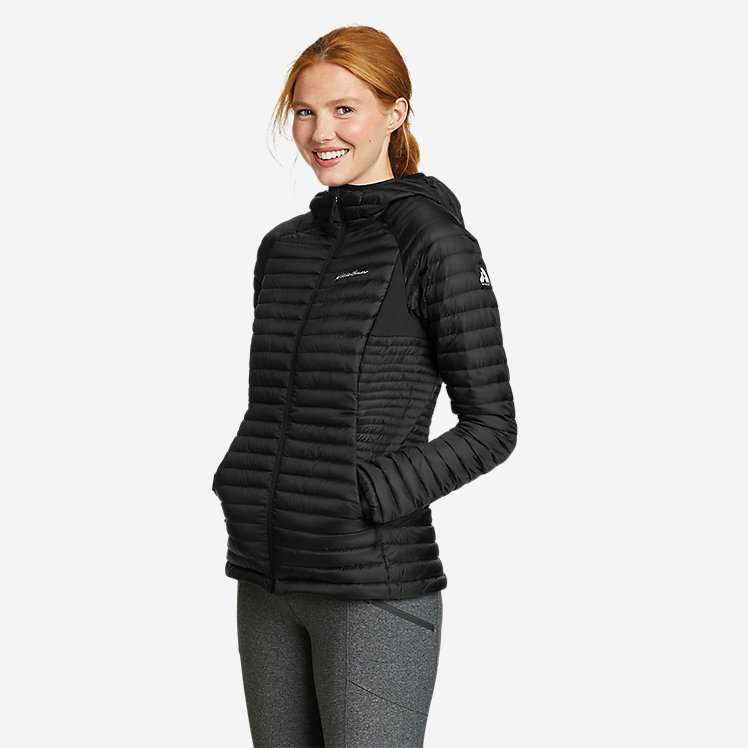
– Microtherm 2.0 Down Hooded Jacket
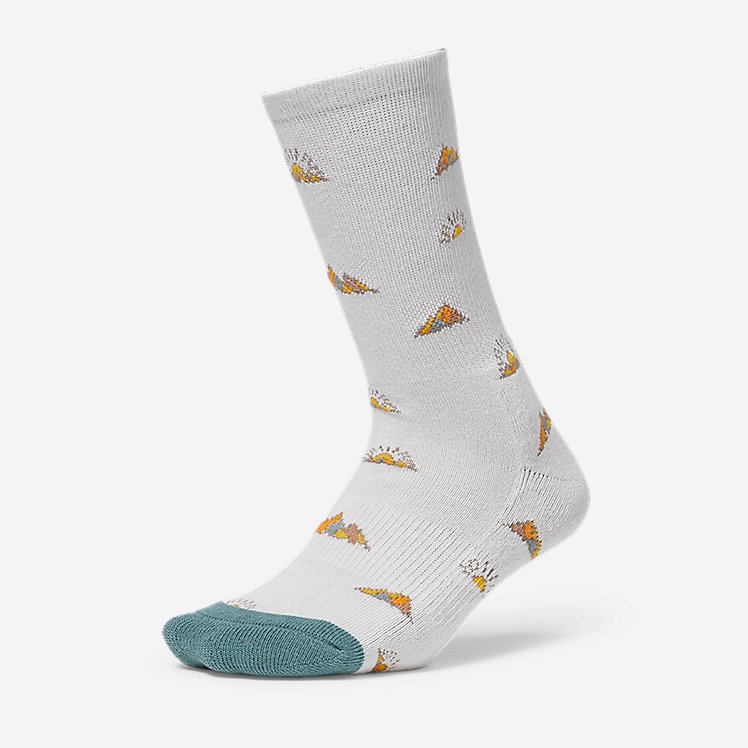
– Trail COOLMAX Crew Socks – Pattern
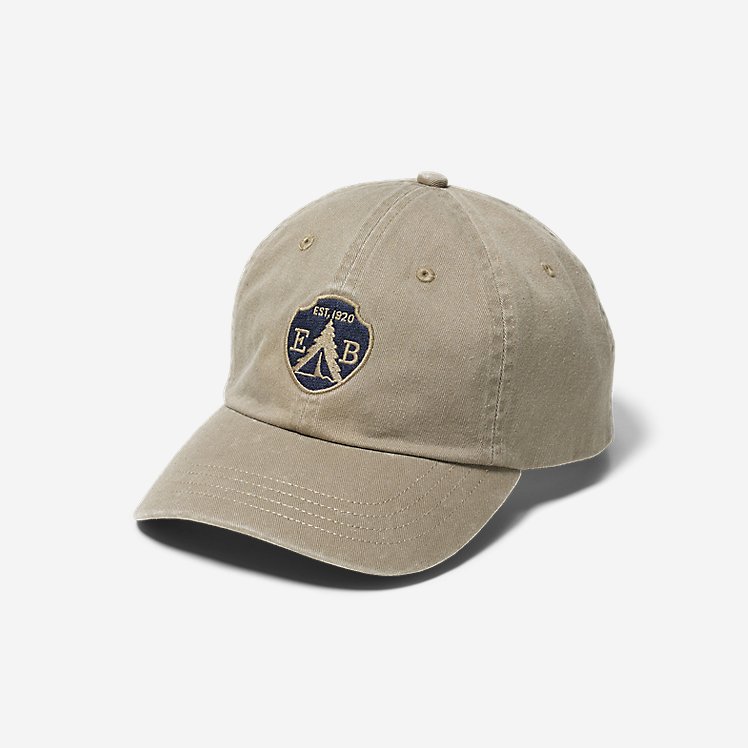
– Dad Cap
Other Eddie Bauer gear:
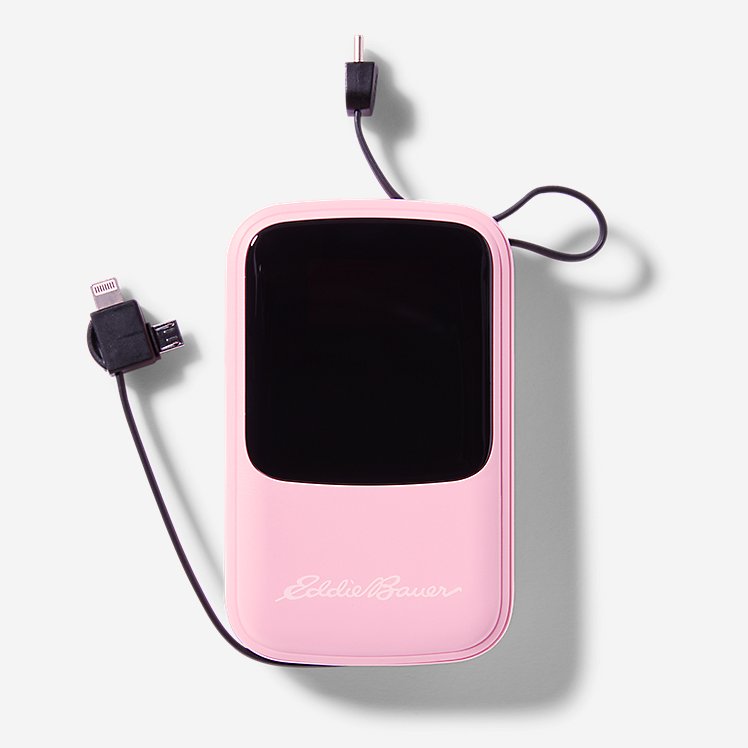
– 10,000 mAh Power Bank X2 – Although you’re able to charge electronics every evening at the refuges, it’s nice having power banks as a backup. I had to charge my phone, watch, GoPro, and camera batteries, so power was important.
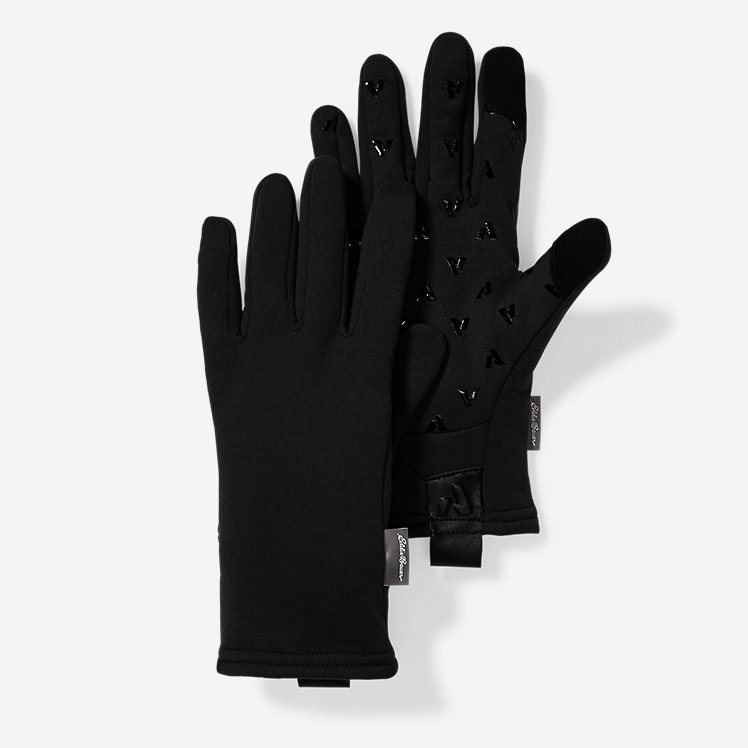
– Gloves
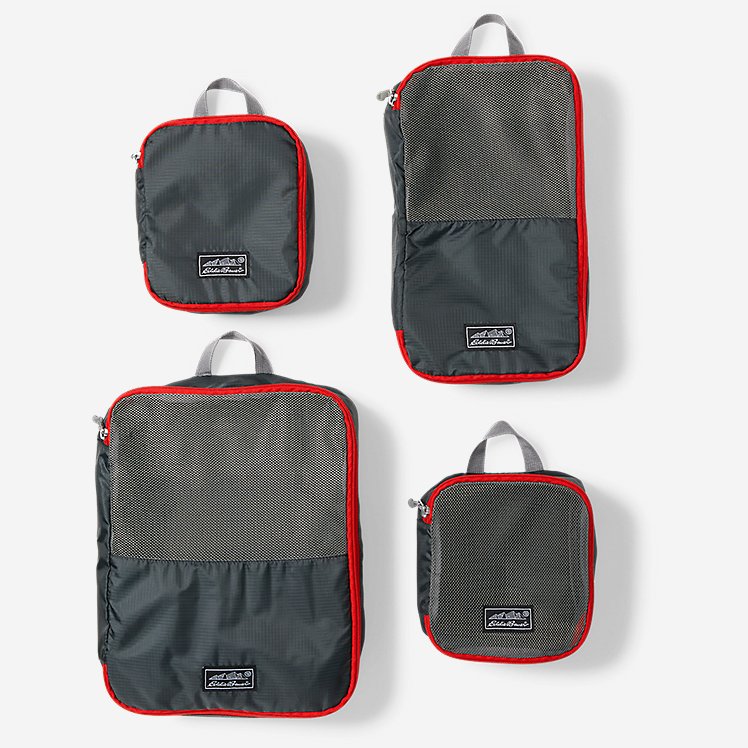
– Packing Cubes – Game changer for this trip. Packing cubes make everything easier when packing and unpacking your bag. I had one for day-to-day clothes, one for jackets and my fleece, another for dirty clothes, one for socks/underwear/sports bras, and one for electronics/cables.
Continued packing list:
- A 40L backpack is suggested if staying in refuges along the way.
- Toiletries
- Two more pairs of socks
- Underwear for the week
- Two sports bras
- Small first aid kit & meds (Tylenol, Advil, etc.)
- Two 1L Nalgene water bottles – Between Craig and I, we had three 1L Nalgene bottles. There are so many places to fill your water along the way, so I didn’t worry about carrying too much at a time. You would be good with one 1L bottle and one 500ml bottle. Water bottles are easier than bladders, as it’s quicker to fill them at different spots. There is filtered water/potable water along the route.
- Sunscreen
- Bug spray – luckily, we didn’t have to use ours, but I recommend having it.
- Sunglasses
- Pack a towel for showering at the refuges. We were able to shower almost every night. It’s also worth noting that each shower situation is different. Some refuges give you a token and allow only four minutes per person. Others give you unlimited time but require you to shower at night. Some only have cold water.
- Sleep sheet – these are required at all refuges.
- Lip protection with SPF
- Cash – for souvenirs, snacks, drinks, meals, and anything else that is not included in the tour cost. Euros were accepted in all three countries.