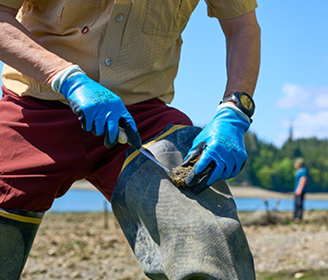
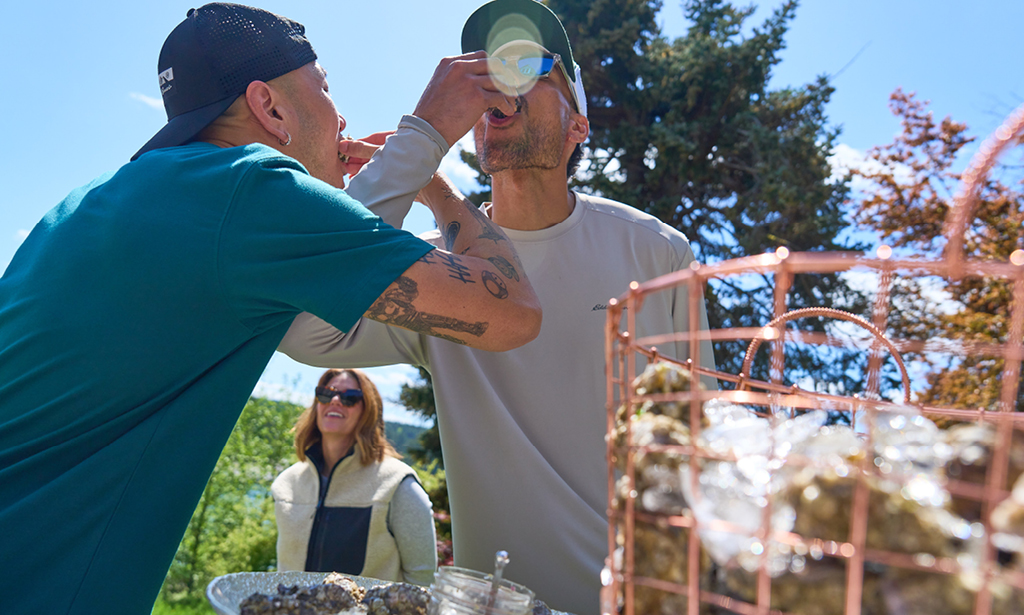
Considered a delicacy by many, oysters have been popular around the world for hundreds of years. Here, John Adams, a shellfish grower at Sound Fresh Clams and Oysters, shows us how easy it is to shuck an oyster.
John, in his video filmed right on the oyster farm, breaks down the process into simple steps.
Position at 2:00
The first key takeaway? Positioning is crucial. Imagine the oyster lying flat, with the hinge (the pointy bit) at 6 o’clock. We’re targeting the 2 o’clock position, where the shells naturally meet. This sweet spot allows for easier entry and minimizes the risk of damaging the delicate meat inside.
Insert and Wiggle
Now, for the fun part: the shuck itself. John emphasizes using a sturdy knife – an oyster knife ideally, but a good quality paring knife will do in a pinch. Firmly insert the tip of the knife between the shells, right at the 2 o’clock position we identified earlier. With a gentle wiggling motion, work the knife tip deeper, creating a small opening. You’re not carving or slicing so much as looking to get the knife inside the oyster.
Sever the Adductor Muscle
Here’s where the magic happens: we’re going to sever the adductor muscle. This is the single muscle that keeps the oyster firmly shut. John recommends a single cut to sever this muscle. Remember, we’re aiming for efficiency, not a full-on oyster dissection. Once the adductor muscle is severed, you should be able to pry the shell open with relative ease.
Detach Top Shell
Now, comes the separation. Carefully detach the meat from the top shell. John advises discarding the top shell, which may contain some shell fragments. Finally, with a quick sever of the bottom muscle, you’ve successfully shucked your first oyster!
Congratulations! Take a moment to admire your handiwork – which may take a few tries to get it right. As John says, there’s a certain satisfaction in opening your own oysters. It’s a small act that connects you directly to the source of this delicious seafood.
Bonus Tips from the Farm:
- Freshness matters: When selecting oysters, choose ones with tightly closed shells. A gentle tap should elicit a slight response, indicating life within. And find a deep cup!
- Protect your hand: Use a kitchen towel or wear a cut-resistant glove to shield your hand while shucking.
- Safety first: Discard any oysters that don’t open easily, or have a foul odor.
- Practice makes perfect: Don’t get discouraged if your first few attempts aren’t Instagram-worthy. The more you shuck, the smoother and faster the process will become.
Beyond the Basics:
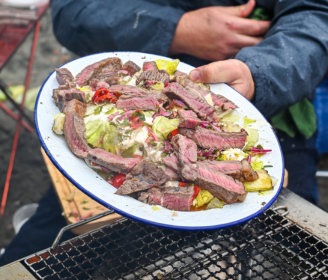
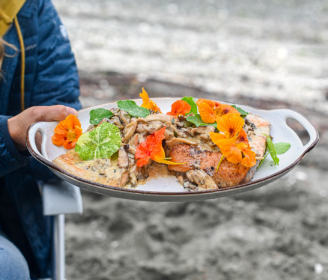
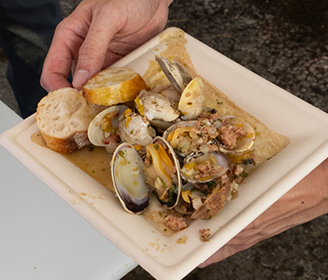
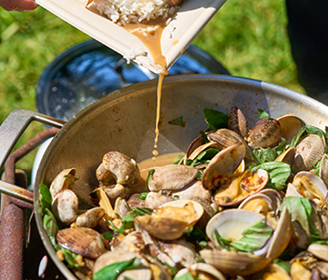
Shucking is just the first step on your oyster odyssey. Now comes the fun part – enjoyment! John encourages you to make it a social and celebratory experience. Pair your freshly shucked oysters with a squeeze of lemon, a mignonette sauce (a simple mix of shallots, red wine vinegar, and chopped fresh herbs), or even a touch of mignonette with a dab of wasabi. Check out some clam recipes from our same shellfish outing, by the way!
So, the next time you encounter a basket of oysters at the market, don’t be intimidated. Remember John’s wise words and the simple steps outlined here. With a little practice, you’ll be shucking oysters like a seasoned pro and finding a new exciting way to get outside to live your adventure.

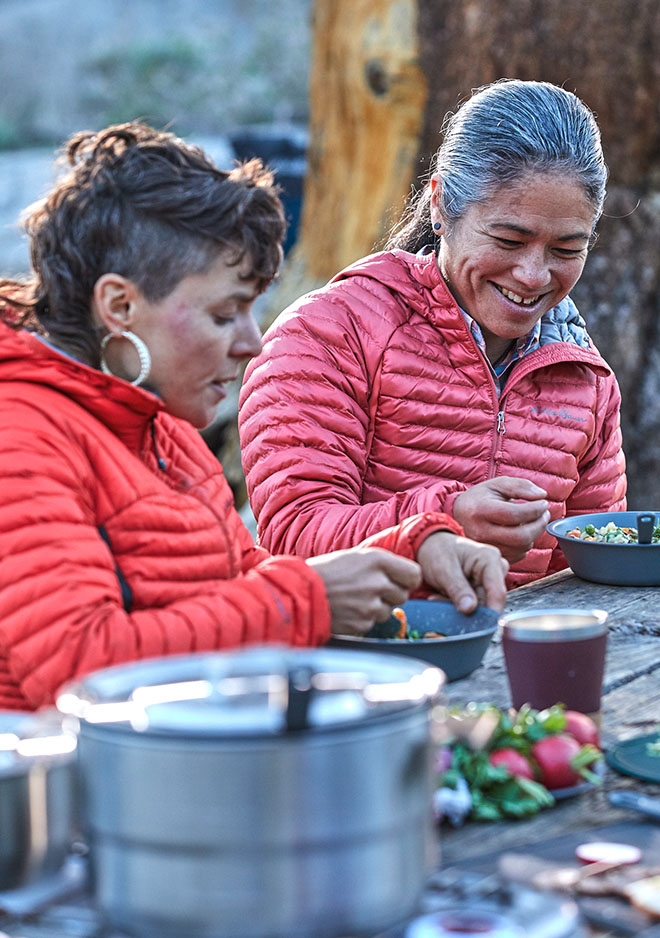
John Adams is the owner and operator of Sound Fresh Oysters and Clams, where four Eddie Bauer associates recently discovered the outdoor joy of clam and oyster harvesting on an afternoon outing hosted by The Field Trip Society.